Potentially Boost Your Spotify Stream Numbers With This New Feature

I’m writing today because – and I may be late to the party – but Spotify finally enabled Canvas for all artists via the Artist Dashboard. What’s Canvas? Well, you know those short, neat little videos that play during a Spotify stream on a loop on your screen? That’s a Canvas video. For the longest time, you had to ‘apply’ to have it added to your profile, but it always felt like it went into a black hole (which, considering now that it’s enabled for everyone, might have been the case 🤦‍♀️.

So, I’ve circulated the update to my clients and we are editing selected tracks and enabling this feature for all future releases.

Here’s what you need to know if you are looking to add it to your tracks, too.

Where to enable Canvas:

  1. First, you need to be sure you’ve claimed your artist profile at artists.spotify.com. If you haven’t and you’re on the platform, for shame! Jump on it right away. Not only can you do this new Canvas trick, but you can also control your profile picture, biography, links, and look at listener stats as well as pitch your new music to Spotify playlists.
  2. Once enabled and logged in, click on the Music Tab.
  3. If you want to add Canvas to an upcoming release, click on ‘Upcoming’ on the Music tab.
  4. There, you’ll see your upcoming release, with the playlist pitch and the Canvas options enabled. Click on ‘Manage’ under Canvas: Enhance Your Release
  5. Once prompted, click Add by the track you want to add your video to.
  6. Drag and drop your file in and hit save!

What are the required specs?

Below are the overview file requirements:

  1. 9:16 ratio
  2. At least 720px tall
  3. An MP4 or JPEG file
  4. 3s to 8s long (MP4 only)
     

The full details – as well as some great inspiration – can be found on Spotify’s website here: https://canvas.spotify.com/en-us along with a handy video on how to add as well here.

I’m really curious to analyze the stats on tracks with Canvas videos vs ones that don’t for my clients – I’d like to see if it makes a difference. Spotify claims “when listeners see a Canvas, they are more likely to keep streaming (+5% on average vs. control group), share the track (+145%), add to their playlists (+20%), save the track (+1.4%), and visit your profile page (+9%)”. What’s also great is your followers can share the canvas video on socials, like their Instagram story, and it really becomes content for the release.  And personally, a lot of these Canvas videos that have caught my eye led me to check out the official music video – which I hope to accomplish for my clients!
So, give it a go – even a simple loop video could make all the difference – and get creative with your tracks on Spotify!
5 Cool Tools to Try Today 🛠️

Lately, I've been diving into summits, podcasts and I've also signed up to go to CD Baby's DIY Musician Conference (let me know if you'll be there). I am trying to take the rest of the month for research, education and learning what is new out there, what works and what doesn't. I'm not going to lie, it's overload, but it's also exciting to get a spark back in how I can help my clients. On that note, I thought I'd share some recent tools I've found that I know you could use today. Here are five cool tools I'm using now, and I encourage you to check them out!

1. Connecting Twitter + Instagram. If you use Instagram and Twitter on the regular, you need to grab this. One of the setbacks with these two platforms is that they don't talk to each other. If you post on Instagram and then share on Twitter, Twitter doesn't show the photo, rather a link which looks pretty awful. Ideally, you want to share the image, not a link to the image. This nifty applet fixes that and will post an Instagram photo to your Twitter feed as a native photo. Grab it here. Sign up on their website to get updates on all the neat applets rolling out on a regular basis.

2. EditFrame. The developer of this site personally reached out to me and asked me checked it out. As someone who despises opening up iMovie for simple video edit, this site is a great tool if you make a lot of videos - specifically image/audio videos. It's very basic now but the developer is keen on making it bigger and useful tool for musicians as a video editor, and I'm confident more features will start to roll out. Check it out here and if you do use it, definitely let me know your thoughts on it!

3. Metablocks Widgets for Music. I've been looking for access to a widget like this for months, and I'm so excited to have finally found one that I can use. You've probably seen lots of musicians share links to their new album or single, and it's a landing page to link everywhere it is distributed - iTunes, Spotify, Bandcamp, Google, and more. For the longest time, the one widget that was out there (that I knew of) was stuck in the invite-only mode. So, I jumped on the opportunity to request access to Metablocks version. I recommend using this for your next release so that you have one link to share where your music is - much better than having to manage several links. Access it here.

4. Website Grader. This site is a completely free online tool that grades your site against key metrics like performance, mobile readiness, SEO, and security. It's a great way to do a quick checkup on how your website is doing, and even tells you what you can do to improve your grade. Grade your site in seconds.

5. Online Signature. I'm still at a loss why anybody still does not use online signing tools to lock down contracts and agreements. Stop the goose-chase and get your contracts online! It is a lot easier to get signatures where you need them if someone can access it online. I personally use SignNow.com, but I found Online Signature and suggest that because if you do less than 5 contracts a month, it stays free. Check it out here.

That's it (for now)! Please - let me know if you use these tools and if you love them as much as I do (or not)! And a few months from now, I'll definitely share any new tools I find that are useful and make your day easier.

So you want to set up a Pre-Order…

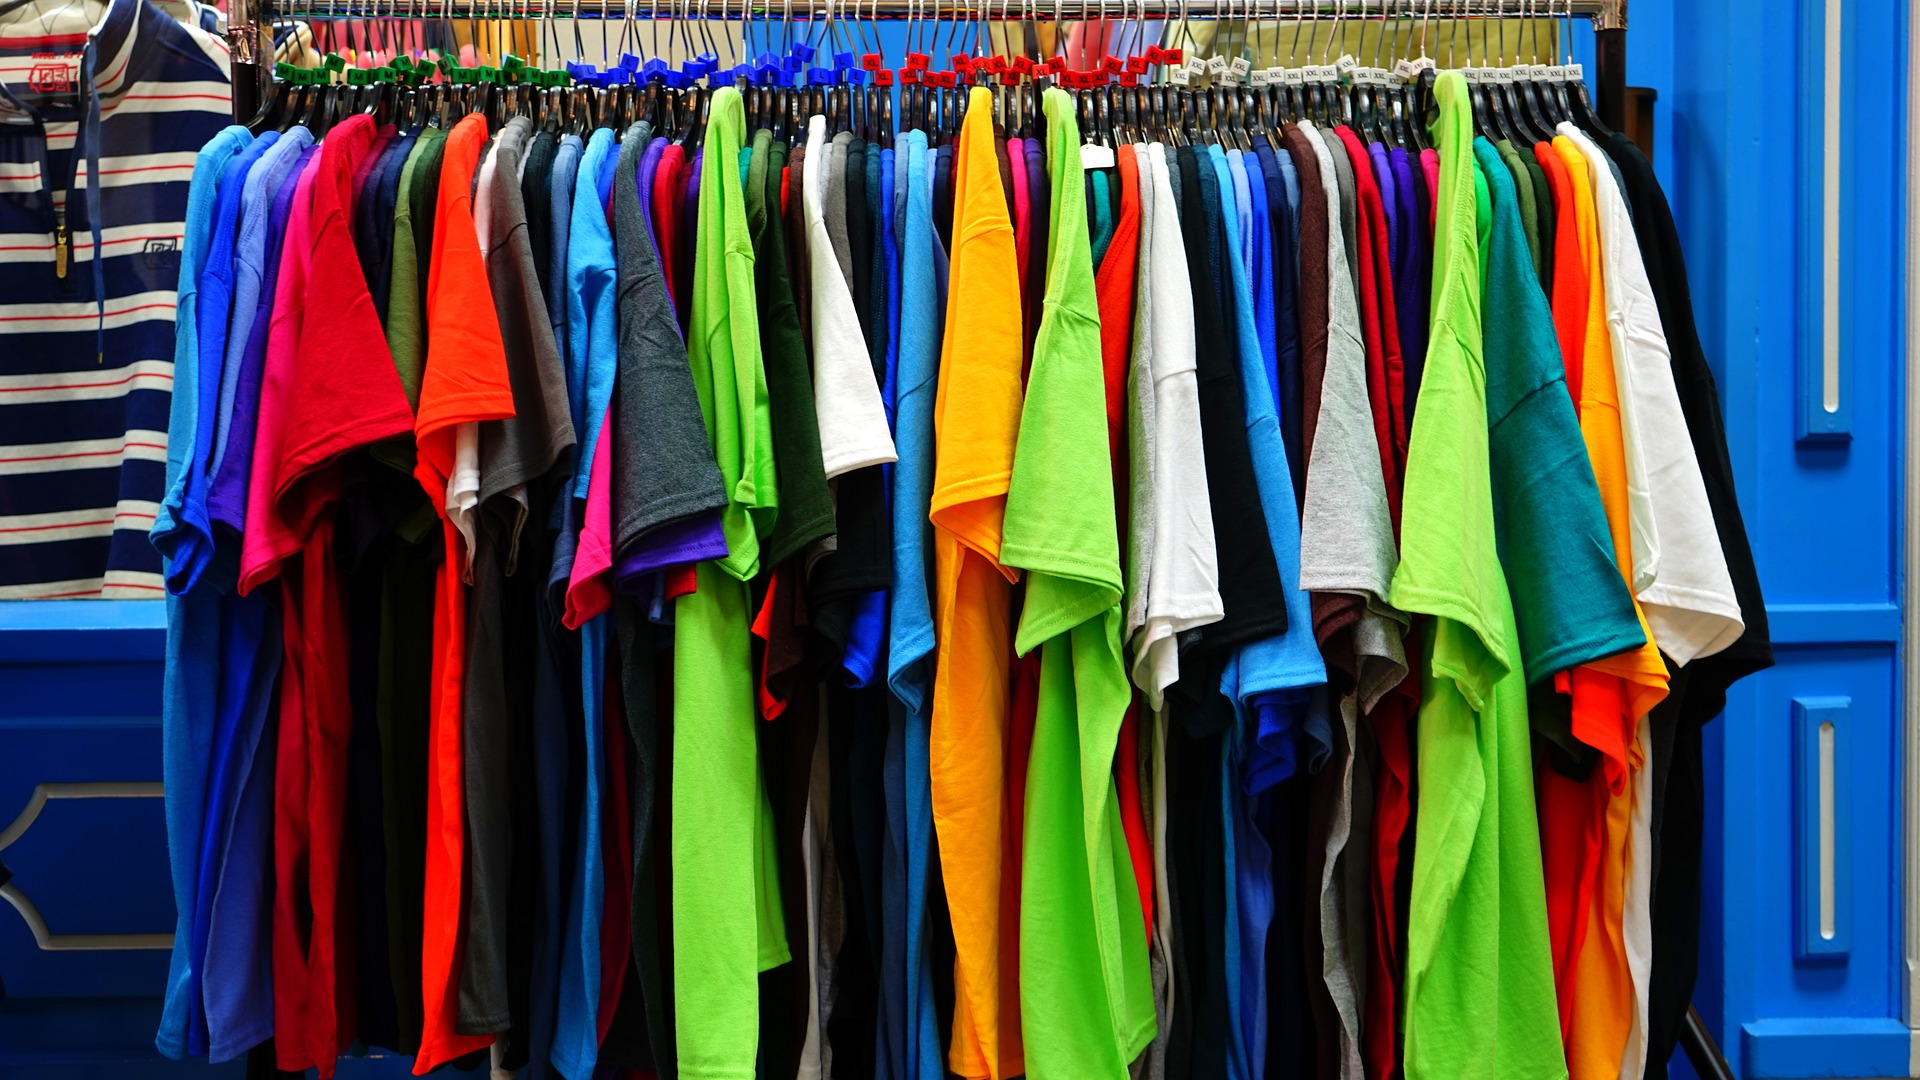
With the new year, I had a handful of clients do a bit of rebranding, and with that usually means new merch. Unlike before, and reasonably so, most people don’t want to buy a bunch of merch in bulk, only to see it sitting in their closet for months, and then end up giving it away with other purchases.
 
There’s a smarter way to handle selling merch to your followers and fans, and I’m here to share it with you! Below are real strategies I’ve used to create great new merch for my clients that they love (and buy)!
 
For today’s post, I will specifically focus on t-shirt’s, but this could be applied to other types of merch, like bags, glasses, hats, etc. Let’s do this!
 
1. Picking your design – One way to really engage your fans and slap on a slight guarantee that they’ll love it, is to involve your fans into helping you pick your merch design! People love to give their opinion. 🙂 Some guidelines in sending out the options after you’ve narrowed it down with your designer.
 
a. Give options, but not too many. 3-5 design options is more than enough, otherwise, you may not get enough strong feedback on one and will have gotten nowhere with the survey. Keeping the options limited will help find the winning design quicker.
 
b. Allow them to pick one only option. Have your fans pick one, or rank 2 options. Doing ranges of 1-10, for example, will only blur the end results. Keep it clear.
 
c. Ask your email list, but also ask on your socials. Instagram has a great poll feature on their stories option. You can also send them to a survey, which you can create for free at SurveyMonkey.com. Try to get as many people to take your survey as possible!


2. Setting up the Pre-order – what is the best way to take these pre-orders? I really recommend using Bandcamp if you have a store set up. What I like about it is that you can specify the date you are going to start shipping out (estimate is fine based on when you will order/get the shirts delivered to you) so that it’s clear to customers when they should expect their shirts. Bandcamp is useful in that it will organize your orders and you can even print labels from their back end.
 
If you don’t have a Bandcamp store, you can use your website store (Woocommerce plugin for WordPress users, Bandzoogle store, or Weebly store, etc.) but just be sure to make it clear in the description and title that it is a pre-order so you don’t have customers emailing in confused, wondering where their order is!
 
I have used a Paypal.me link as well to handle pre-orders. The issue is you have to ask them to give their size, color, etc. options afterwards since you can’t have them select that when they pay. It can work, but you might have people purchase without information given on their choice and you’ll find yourself chasing them down for their shirt size.
 
3. Promote the Product – If your budget and timeline allows, order some samples to show off and use as promotion to your fans. People will more likely order something if they get a sneak peek or real look at the item, and if you’re wearing them too! Printful.com does one-off printing and give you a 20% discount and free shipping on 3 different items to see your product beforehand. This is also great if you are trying to decide on a type of shirt or item.
 
4. Pricing Your Merch – When pricing your shirts, be sure to think of all possible hidden fees. Shipping fees from your manufacturer. The packaging itself for the item. Your time going to the post office or printing off labels should also be factored in. Try to get in a range where you feel comfortable with what you are charging for the item and where you get enough back to make it profitable for you.
 
5. Create An Incentive – To up the ante on a pre-order, offer either a special price, free shipping or even better, throw in some extras when you ship the item. Think of bracelets, stickers or any other light item that won’t add extra shipping costs to surprise your early supports of the merch item!
 
6. It Doesn’t Stop At The Post Office – It shouldn’t end at the customer receiving the shirt. Include a handwritten note saying how much you appreciate their support and to share online and tag you (this creates an effect of more people wanting the item, too). Include a coupon code in the package that gives them 10% off any item in your store. Aim to keep the relationship going and strong with your fan after they receive the merch!
 
Using these strategies, I’ve seen 50+ orders in a matter of weeks, fan engagement grow, and lots of shipments out the door! Stay smart in your merchandise endeavors, and it will certainly pay off.

📱 Get App-y! 📱

I’m all giddy typing right now because I know what I’m about to share is going to make your life improve in a snap – and for free! Seriously! I’ve been doing what I’m about to share with you for a few weeks now, and I already feel like life is just…easier.

Finally, the many websites you use as a musician are wising up and getting in the App store. Here are the newest and then some of my favorites that you should download now.

1. Spotify for Artists

Separate from the Spotify music app that you know, you can now access your artist profile directly through your phone. This is great if you want to quickly update your Artist Pick Of The Day based on your mood, or new release, or update your photo, or quickly check your stats. Learn more about Spotify for Artists in my blog post here.

2. Bandinstown Manager

Another brand spankin’ new app for musicians. I think this app is WAY overdue! Now you can mark shows as sold out while on the road, or quickly make any last minute changes to your touring calendar. I’ve used it and have had no issues – they’ve done a great job rolling this one out.

3. BandCamp

This one is beautiful y’all. I logged in and was welcomed with stats, one click away from messaging fans and quickly able to see how my client’s album sales were doing. This app is no joke. In addition to what I just mentioned, you can edit your profile, add new merch, check orders, mark them as shipped and most importantly, message your subscribers. If you’re active on BandCamp, this app will make it easier for you while on the road.

4. MailChimp

Now, this will only apply to you if you are using MailChimp for your newsletter (highly recommended, it’s the most affordable & most reliable one out there – trust me, I’ve tried a lot of them). They’ve had an app for a while now, but because you couldn’t edit the newsletters, I thought it was pretty useless. I never had a situation where I had to urgently pull up a report or check if an email was on the list. But, I have been on the road, and a word needs to be changed in the draft, and the email has to get sent out in 5 minutes. I would either rush and scramble to get to my computer, or I’d have to, unfortunately, let it wait until I could get to a computer (NOT preferred)! So, now that you can edit the emails on your phone and catch those minor mistakes before they go out? I’m all in.

5. Dropbox

Having Dropbox on my phone has been a lifesaver more than once. A venue needs a hi-res photo of the band so they can announce ticket sales that day, the band needs to hear the new track before rehearsal this afternoon, you need to send a link to your poster to print out at Staples…this has ALL happened to me! Dropbox’s app is very organized, clean and easy to find the files I need. So much better than searching through emails and sending attachments. I prefer it over Google Drive – for some reason, load times have been horrendous for me with Drive, but Dropbox – it’s been easy-peasy every single time.

Now, there are MANY more apps out there for musicians that focus on the production/recording end [see here, and here], but I wanted to share with you apps that I’ve used to improve time management, organization, and maintain ease of everyday tasks that I handle for my clients that WORK.

I hope you take the time to check these apps out, and if there are apps that YOU use daily to keep your career in line, let me know! I always want to know what works :).

Positive changes with Spotify for Musicians

Spotify is slowly rolling out new features for artists that I’m very happy about.

Before, you had no control as to what photo was used, what bio was used, heck, what tour dates were used for your artist (I’ve seen managers complain Spotify confusing their artist’s tour dates with another artist’s name). It was really messy.

Now, it’s really easy to start managing your own profile, and more importantly understanding your audience on Spotify.

Let’s break it down on what you can do, shall we?

1. Verification is easy as 1-2-3. You no longer need 250 followers to get a checkmark by your artist profile [insert sigh of relief]. As long as you can connect your Twitter account with your Spotify artist account and provide your links (think: website, socials, etc.), you’ll be connected to your artist account and instantly verified. This tells people this is your artist profile & allows your music to be considered for Spotify playlists.

2. Share you profile with your team. TWO great things about this. I’ve heard horror stories of management taking over artist profiles, only to have parted ways and now the artist cannot get to their profile. Now, a profile can have many team members so don’t fear not being able to access your profile and make edits. I highly recommend having your own account linked to your own profile, rather than the other way around. It’s always best to be in control of your profile as an artist, and then add your team members from there. What’s the second best thing? You no longer have to share your login info to access your artist profile and risk exposing your musical taste when no one’s watching…

3. Update your bio. Before a couple weeks ago, Spotify didn’t have your bio, or normally would pull an outdated one. Now you can update your bio within minutes for a new single release or special promotion. Plus, if you have a wikipedia page, you can link that too. Pro tip: Spotify bio’s must be kept under 1500 characters and you can link it to songs, playlists or albums on Spotify that you want to feature.

4. Concert Calendar. Now it’s not perfect yet, but improved. Before, you had to have your concert dates on Songkick for it to sync to your Spotify page. Now, any events on Ticketmaster, AXS, Eventbrite, and Songkick will show on your page! My fingers are crossed for a partnership with Bandsintown – can we push that through?

5. More thorough stats. With access to your artist page, you can now view number of listens, who is listening and where they are listening from. Valuable information that before you couldn’t get anywhere else. I typically get my artist’s stats from Next Big Sound, but unfortunately they haven’t worked out a deal with Spotify to show their numbers, so I’m relieved to find Spotify is stepping it up with their reports. PLUS – you can now see how many listens you have, even if it’s less than 1,000.

So if you’re on Spotify, it’s definitely worth your time to log in and check on your artist site and make sure your profile is up to date. With 50 million paid subscribers, you want to look good.

How a VA can help with Crowdfunding

I know I haven’t been posting as much as I’d like to be, but some exciting projects took off last month that I had to devote my time to – in a great way! It definitely hasn’t been a slow summer!

One of these projects is helping out with a Kickstarter for a pre-release of an album – which I’m really excited about getting out in the world! Kickstarter’s, and any crowdfunding efforts for that matter, take daily commitment for the 30 days you have to raise your goal.

If asking funds from your family and friends for your next album isn’t overwhelming enough, setting everything up on your Kickstarter page, planning and pricing out rewards, creating your video, promotional graphics, emails, messages, posts, publicity, shipping, fulfilling orders….well, that should be! Especially for just one person!

If you’re starting to sweat it when pumping up for your Kickstarter and you’re coming up short with hours and help, you might want to consider hiring a virtual assistant to help you before, during and after the campaign!

Here’s just a few ways they can help you make it happen:

Pricing your rewards – Have a VA price how much it would be to order merch, CDs or Vinyl you are planning to include in your rewards so that you can make sure you level those accordingly. Don’t forget about shipping costs, too.


Proofread your Page – Have a VA proofread your full story, page and rewards so you can publish to the world with confidence.


Schedule out Emails – A VA can help draft, proof and schedule out emails to you mailing list to promote your Kickstarter to – especially during the first few days of launch and last few days for the final push!


Send out messages on Facebook, Twitter, Instagram – Work together to create a non-spammy message to help send out to your followers. I recommend keeping the outreach to your close friends and families personal, but to those who you don’t know, a VA can help send the message out!


Build graphics for promo and social – With Canva, it’s now easier than ever to build out graphics for promotional and social media use. Have a VA layout banners for your social media profiles to make every platform lead fans and followers to your Kickstarter!


Keep you on schedule – When building out your daily to-do’s, a VA can load the tasks with deadlines into a project management system like Asana or Basecamp, so that you can always know you’ve done everything you wanted to do to make your Kickstarter a success!


Brainstorm promotional ideas – Kickstarter’s usually have a lull period. The first and last week are where your campaign will get the most action. During that lull period, you can offer contests to boost funds in the middle. Have a VA come up and brainstorm with them contest ideas – like offering a live concert or give everyone a CD if $1000 are raised by a certain date.


This is truly just the beginning of how a VA can help you with a Kickstarter. Each campaign has a different goal and audience and with that, requires different ways of getting it out there. In any case, a VA will make you seem superhuman in your Kickstarter!


P.S. In case you are curious as to what project inspired this post, I’m excited to share with you Robyn Cage’s Kickstarter for her upcoming album, “Slow The Devil”! I’m more than honored to be involved in this project and hope you will consider supporting her music! My favorite is that Mystery Box – can’t resist a little mystery! 😉

What is your best incentive?

Mailchimp rolled out a new feature and I just had to make sure you knew about it – especially if you use Mailchimp or if you are thinking of using it.

Now every account has access to use their free automation tool! Before, you had to pay at least $10/month just to use the automation, even if you had less than 2000 contacts. Now, everyone can use their automation tools!

What is the automation tool? It’s a way to automatically send emails to your mailing list when they sign up, when they click on a link, based on their location, on and on. This saves energy, time, brain power and ultimately money.

So, are you using an automated response with your email sign ups? If no, what’s holding you back? There are so many options that you can do to help build your relationship with your fans, make you look professional and make you money!

Here are some ideas for an automated email to new sign ups for your list.

1) Free music – tried and true, people love to get your music for free. Make it enticing by giving away studio versions, acoustic versions or songs they won’t get anywhere else.

2) Coupon – give a coupon away for new signs ups to your online store! Capitalize on their interest right when they sign up for your list but offering a great deal on your latest album.

3) Personal stories – if you’re a storyteller, share a sequence of stories and how you started out as a musician, or about your last album and how it came to be. Set the tone to your list that they are going to get the background on your music and you.

4) Throw it all in a bundle – put together a bundle of your music, a coupon and maybe a few more ‘digital’ goodies. Recreate the experience of joining your fan club in the digital world!

There are endless ideas to include your welcome email because you, your music and your brand are individualistic! Are you a guitarist? Offer up a chord sheet of your favorite song. Big fan of unicorns? Offer a coupon for some fun merch in your store. Get creative in how you can connect with your fans!

I hope this gets you thinking about how you can give an experience to your mailing list sign ups.

How do you get started with a VA?


Today’s message is all about getting started with a virtual assistant. Most of my clients have never worked with a virtual assistant with intentions of working long term – most work they have hired were temporary workers from Upwork or Fiverr, or one time projects. So, a very common question I get is – how does this work? How do we get started? How do we build this relationship?

After years of working with many clients, I’ve learned a few basic things to start with every new client to make sure boundaries are set, goals are being met, communication is made and the relationship can grow into a strong team!

1) Set up a weekly or bi-monthly check in call with your VA, even if it’s just for 15 minutes. This will keep both of you on top of your goals and together you two can stay on the big picture of your career.

2) Create a shared online workspace. I highly recommend signing up for Asana or Trello – both free – to organize your to-do lists and delegate tasks, included with deadlines. Being online and shared, it makes it easy to communicate with each other and avoid email back and forth overload. If you don’t want to learn a workspace program, utilize a shared document or sheet of your to-do list.

3) Create a shared folder of your most updated assets. Every musician should have a folder from the get-go of their best tracks, photos, bio and links to videos. This way, you aren’t always emailing the assets you want your VA to use for press or festivals, AND he or she doesn’t always have to ask you for it.

4) Password management. Use Lastpass or Dashlane to store your passwords and share safely with your VA. You can even use these sites to store credit cards so that your information is protected.

5) Let them know to speak up. Empower your VA and let them know to speak up if they see a better way of doing things, or have any suggestions. They are working closely in your career and they might see and feel there is a way to streamline a process, find you a connection or save you money!

These 5 tried and true tips are a GREAT way to build a solid trust between you and your VA to handle your career and goals. So go out there, find your team and rock it!

Encore Blog Feature


Today, I’m keeping it short and sweet. Mostly, I want to address the #ShamelessPlug subject and share with you my first interview on Encore Music’s blog! I’m honored to have been interviewed and would like to officially thank them for including me in their blog!

If you don’t know Encore, definitely check them out if you are active on the gig market, think private events, corporate events and the like. They have a great, easy to use site, have worked with BIG names like Carnival, Guinness, Google and many more. Their customer service is also fantastic, which is a big plus for me personally.


How To Get On Wikipedia ?

Well, I was pondering what to share with you to start the year off right and I thought, why not about something that most of my clients ask about / wonder if they should do this / why it matters / how it can happen…and that’s having a Wikipedia page!

You might be thinking, “wikipedia page? Who cares?! My website and my multiple social media profiles are enough.” Sure, it’s enough for folks to get information about you. But, a wikipedia page can open doors to verification, credibility and online reputation. It gives you a platform that not just anyone can get.

NOTE – not every musician should get a wikipedia page.

If you are starting out, it’s just not going to be possible to start a page. If you’ve been at it for a few years with press, mentions, performances, placements, etc., you have more of a reason to build a page and your chances are very good.

You see, wikipedia requires you to prove that you accomplished some status with your music. I found as long as you can link each sentence in your wikipedia page to a press source or other Wikipedia pages, you should be able to have your own.

Here’s how to get started if you’re ready for a wikipedia page.

1) Sign up for Wikipedia. You can sign up yourself and create your own profile, but if you can, have someone else like a VA, family or friend sign up in order to write the article for you. Better yet, see if you know anyone who has a profile who regularly contributes. If you’ve submitted on wikipedia before successfully, you have more credibility to add more articles.

If you are signing up for the first time and just getting started, walk through their tutorials, make slight contributions if you can to other articles, and get comfortable. I also recommend creating a fake name so it’s not so transparent that you are submitting an article for yourself.

2) Write out your article. Your existing biography is a good place to start – but cut down the fluff. Wikipedia does not care about your ‘sultry voice’ or ‘outstanding performance’. They want the cut and dry facts – with proof!

For example, take this existing sentence from an artist bio:

As a performer, she’s dazzled audiences from Davies Symphony Hall,  to thousands at outdoor festivals, and the prestigious and intimate singer-songwriter circuit in Nashville. 

To put that into wikipedia, you’ll want to rewrite it as:

She has performed at Davies Symphony Hall, the Outdoor Music Festival, Summer Music Festival 2016 and at venues like Nashville Shows and Nashville Concert House.

PLUS you are going to want to be able to link to either another wikipedia page or news source saying that you performed at those places.

If you can’t prove it with an outside source other than your existing bio, leave it out.

BUT there are exceptions. I found that for your intro sentence, such as:

Artist Name is an American singer-songwriter.

You can link that to your bio as a source. It’s when you start linking yourself to venues, festivals, organizations and other people where another source is needed besides a site run by you.

3) Add your discography, videos and other credits.

In addition to your intro and career paragraphs, you’ll want to then add your discography – this includes singles, EPs, full albums, remixes and videos.

You can also add other fun facts if you’d like, such as where you studied, other talents (acting, teaching, etc.) as long as you can prove it!

4. Add your ‘Infobox’. This is that little box to the right with your name, image and overview. In wikipedia, it’s under Templates>Infobox Musical Artist.

You will have to add your image to WikiCommons before you can link to it in your Infobox. I strongly recommend using a live or action photo, not a promo shot, and be sure you have permission from your photographer to upload it to Wikipedia.

5. Establish your page. Once published, be sure to add categories to your page so it can be listed with similar articles (or artists in this case). Also, if there is another wikipedia page you can add your name to, such as a producer’s page, an awards page, etc., add your name. The more your page is linked to in others, the better.

It may seem intimidating, but I promise, if you take some time to sit with your bio and make it just how Wikipedia likes it, you can have a page up and running within a day.

As a bonus, it will come up in Google search almost instantly, you can link to it when you’re trying to get verified on Twitter, and now you’ve got something to distinguish yourself from other artists online.

Even if you aren’t quite there yet in your career, stash this away for when you are ready and you’ll hit the ground running getting your own wiki page up.